
How to Download and Install RustDesk Client for Windows
RustDesk is a powerful and easy-to-use remote desktop software that allows you to control other computers remotely. Follow the steps below to download and install the RustDesk client on your Windows computer.
This Guide is for the MSI Rustdesk Installer.
The MSI file is a microsoft installer file, this will install the software to the computer. The EXE file option will directly run the software without install but users may encounter some issues when trying to connect to our services this way, it is best to install the software to ensure that the correct services are ready and running.
If you are wishing to use the EXE instead of the MSI, Then please skip down to STEP 5 and continue from there.
Step 1: Visit the Official RustDesk Website
- Open your web browser (e.g., Chrome, Edge, or Firefox).
- Go to the official RustDesk download page.
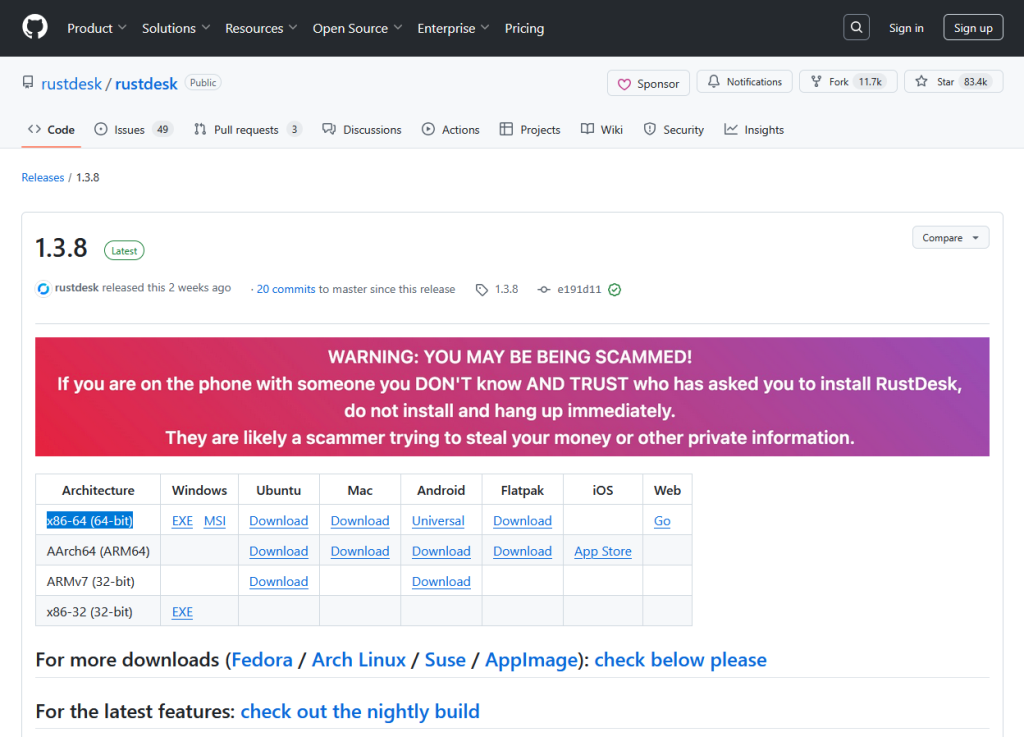
Step 2: Download the RustDesk Client for Windows
- On the download page, scroll down to the Windows section.
- Click the Download button for the Windows version. The download will start automatically, and the installer file (e.g.,
rustdesk-installer.exe) will be saved to your computer.

Step 3: Run the RustDesk Installer
- Once the download is complete, open the folder where the installer was saved (usually the Downloads folder).
- Double-click on the
rustdesk installerfile to begin the installation process.
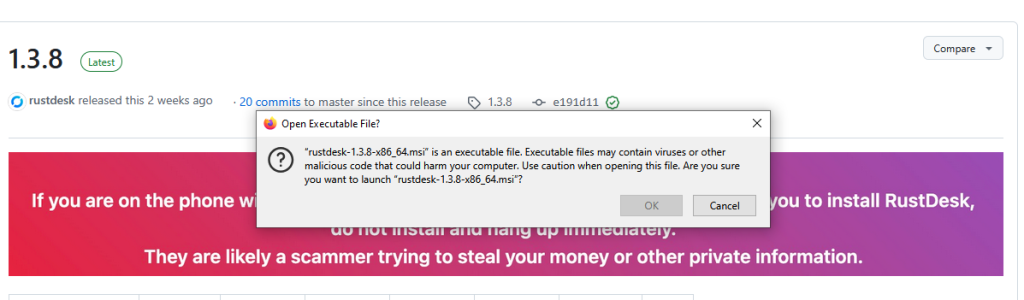
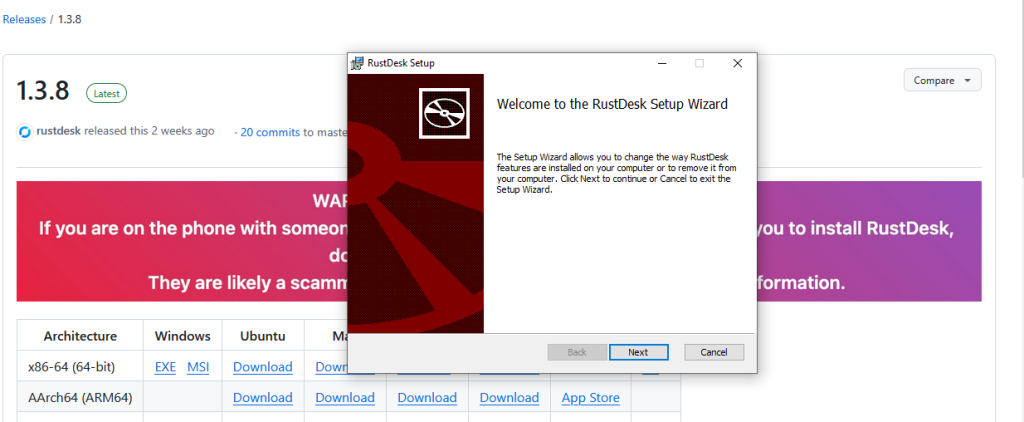
Step 4: Install RustDesk Client
- A security warning may appear asking if you want to run the file. Click Run to continue.
- The RustDesk installation wizard will appear. Click Next to proceed.
- Choose the installation folder (or leave the default). Click Next.
- Select any additional options you want (e.g., creating a desktop shortcut), then click Install.
- Wait for the installation to complete. Once it’s done, click Finish to exit the setup wizard.
Step 5: Launch RustDesk Client
- After installation, you can launch RustDesk by either:
- Clicking on the RustDesk shortcut on your desktop (if you created one during the installation).
- Or, searching for RustDesk in the Start menu and clicking on the app.
Step 7: Become familiar with the client
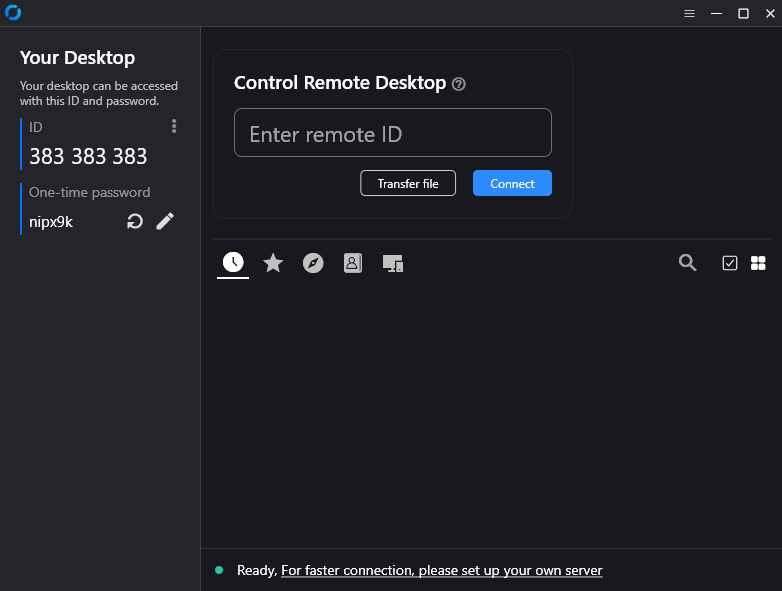
In order to proceed further we need to understand what exactly we are looking at here.
This client window shows you a couple of key bits of information, Notably the most important 2 is the ID number and the One time password.
The ID number will always remain the same, this is your service address number however the One time password will change with every connection. You can set a Static (none changing) password however I do not reccomend doing this as it is less secure.
I have highlighted some zones of interest to pay attention to as the next steps will require us to use these key area’s
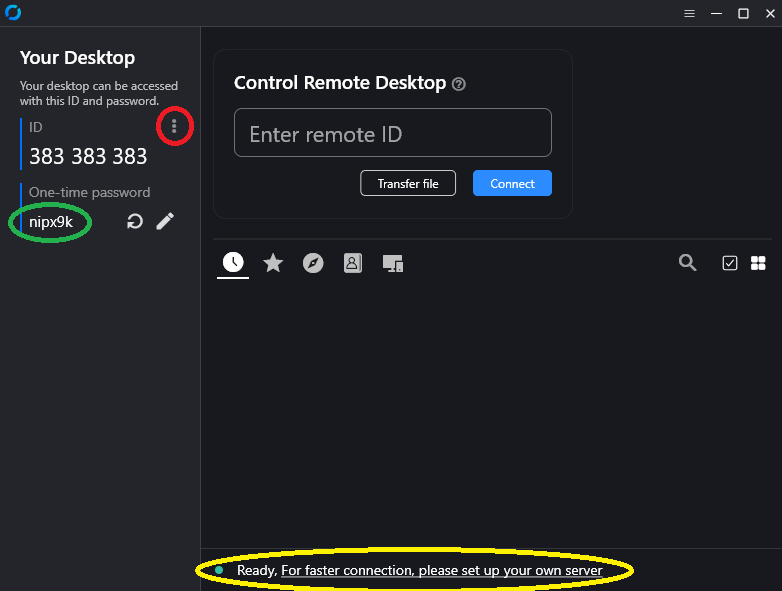
RED indicates the Settings access (needed to connect to the Dialatech.uk Secure server) (the next steps)
GREEN is your One Time Password
YELLOW is the status of your connection to the service portal.
Our Next steps will configure the Rustdesk client to connect to the dialatech server to ensure the safest and best performance possible when connected to the service.
To proceed to the next step of this guide you will now need to press the 3 dots highlighted in the RED circle to bring up the options menu.
Step 8: Rustdesk Options
Once in the options menu click on the “Network” option on the Left hand side the page will then look like this

Step 9: Unlock Network Settings and Add Server Information
once on the network section in the options, Click the Large Blue Unlock button near the top of the application, This will ask for permission, Accept the permissions and Click on the “ID/Relay” option, then you should be greeted with the next below screen.
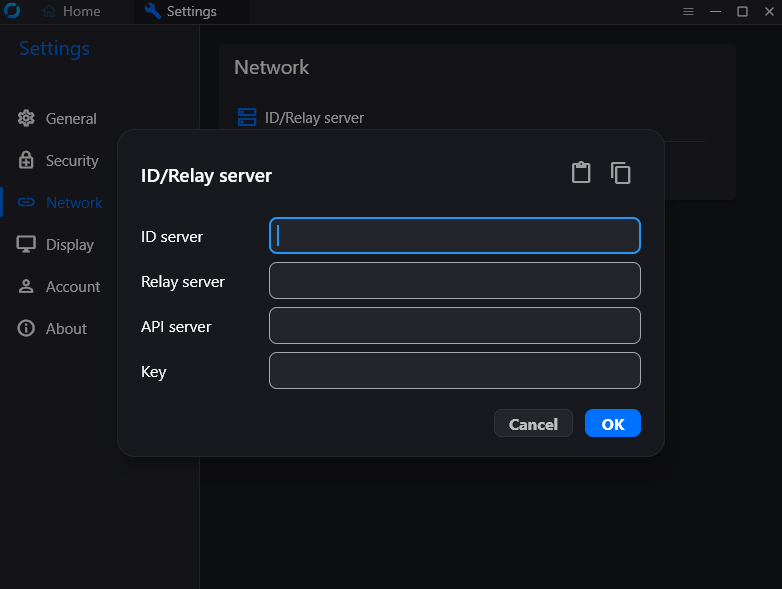
Step 10: Enter The Correct details into the settings page
Once here you can enter the below information, It is fine to use COPY and PASTE actions if you wish.
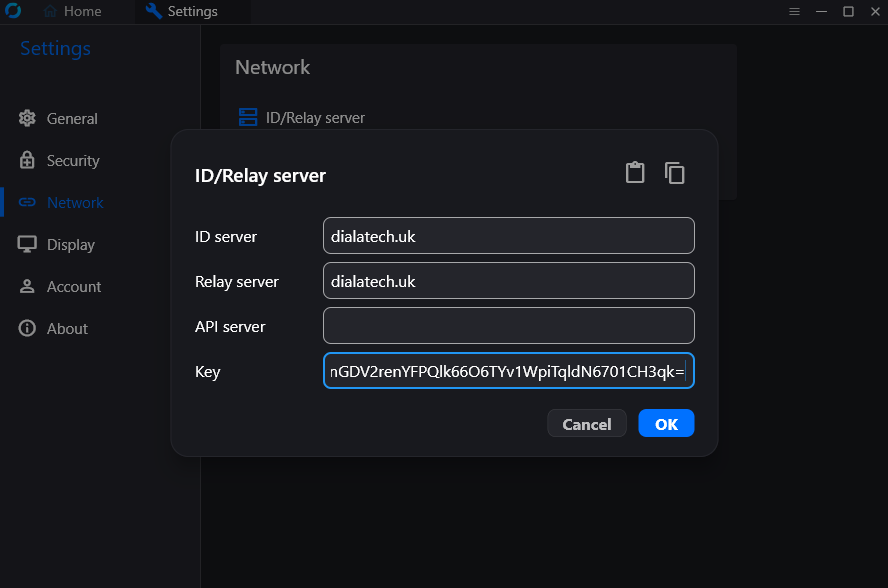
ID SERVER = dialatech.uk
RELAY SERVER = dialatech.uk
API SERVER =
KEY = 8yawnGDV2renYFPQlk66O6TYv1WpiTqldN6701CH3qk=
If done correctly it should look like this.
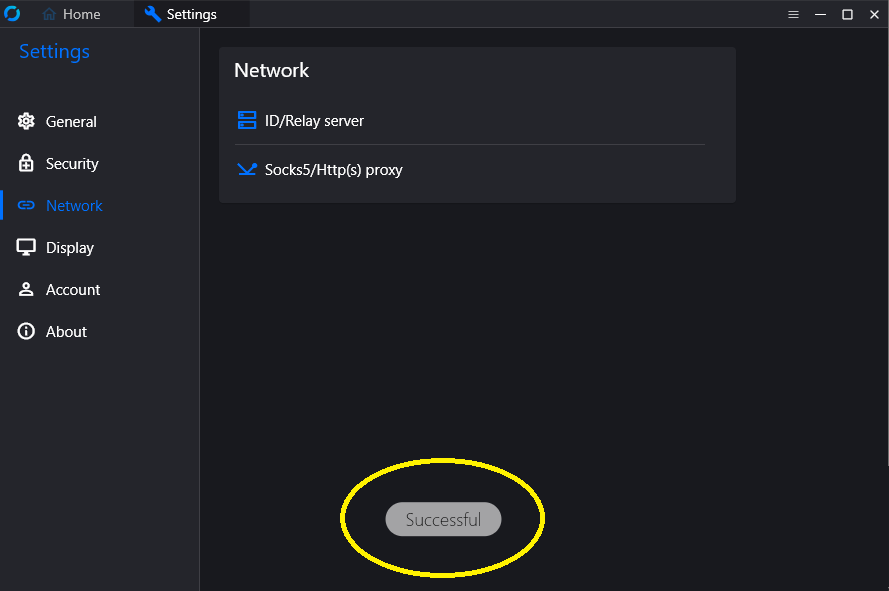
Step 11: Press OK to Commit the settings
The Big Blue OK putton will input the settings and if all is well the below screen with the word “Successful” should show
Step 12: Confirming you are set up and ready to connect
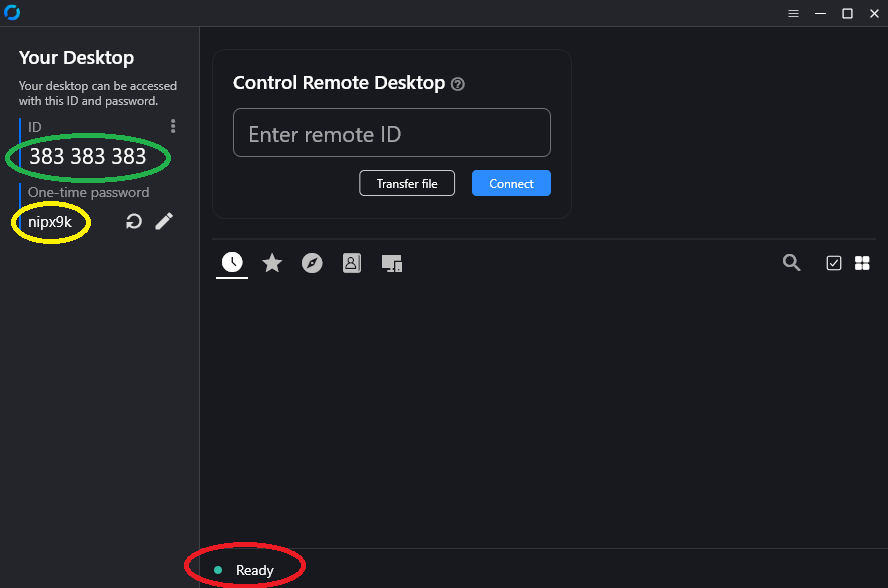
After the settings have been entered, in the top right of the application you can select the “Home” this will present you with the first screen you observed when first installing Rustdesk, there should be a key change on this next page, The below image shows a green light simply saying “Ready” and the link regarding getting a server for better performance should have gone, I have highlighted this in red below.
Now you are ready to ask Dialatech.uk to support you, In order to connect we will require the ID number in green and the One time password in yellow, Please note as mentioned above the One Time Password will change with each connection made for security reasons.
Step 13: Connecting to a Dialatech.uk Agent
Get in touch with Dialatech so we can connect to your computer and discuss the problem at hand Contact information is available in the “Contact Us” Page
At any time during the connection you have control to terminate the connection with a big red killswitch, this will terminate the session and give you full control of your computer back, Giving you some peace of mind.
We look forward to resolving your issue soon!